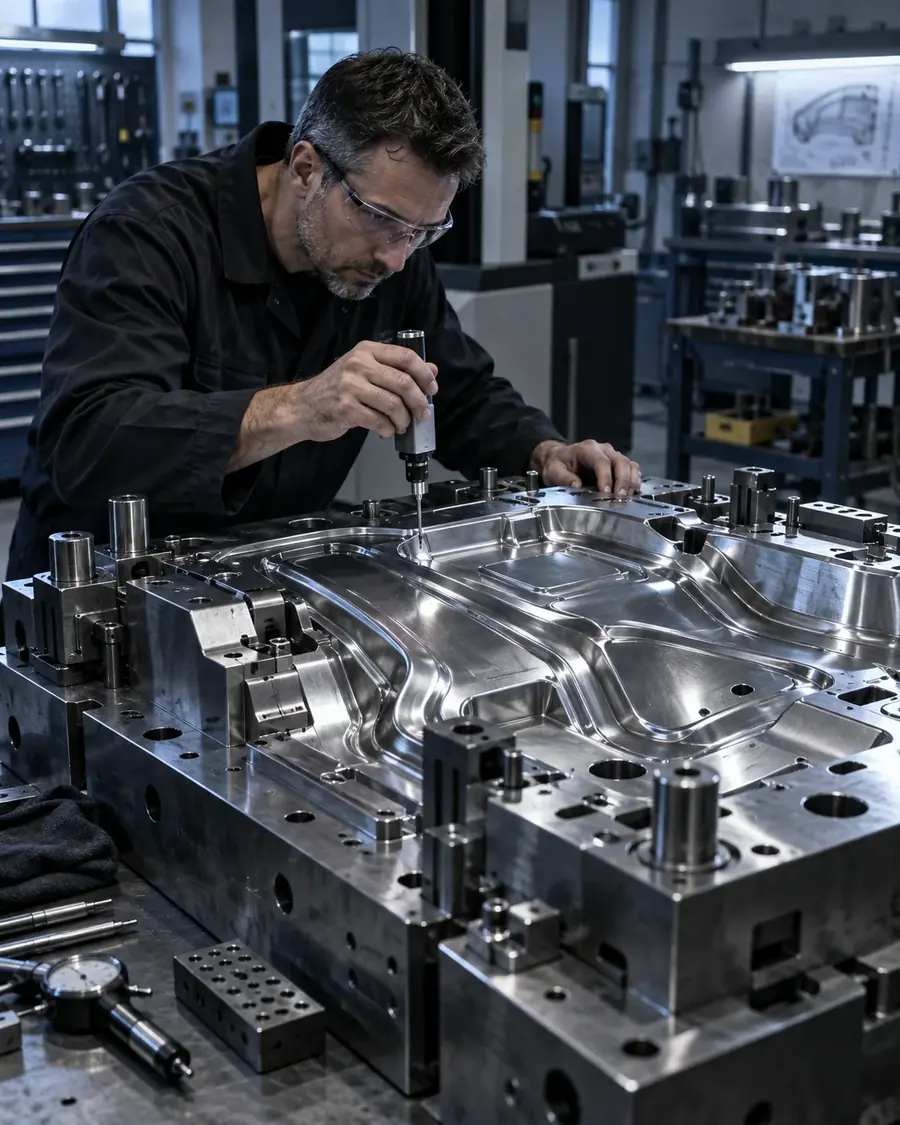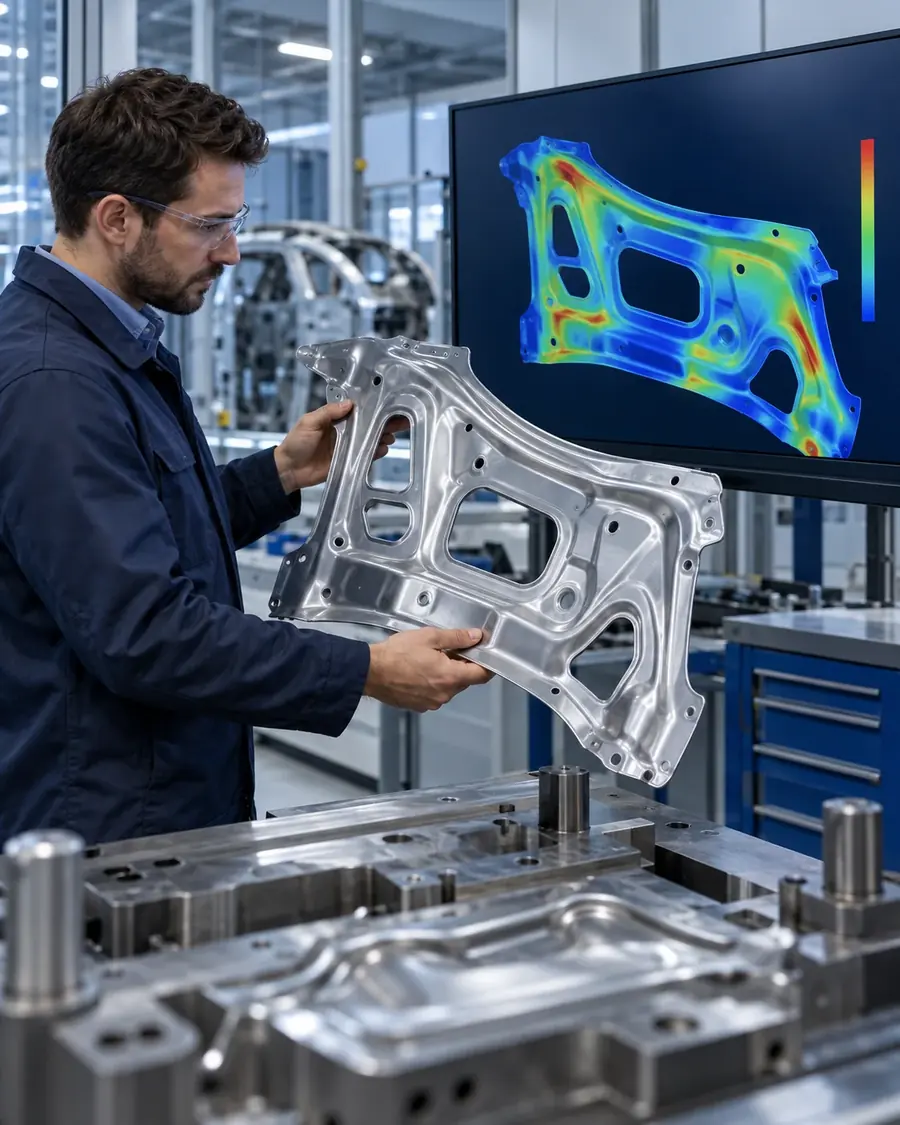
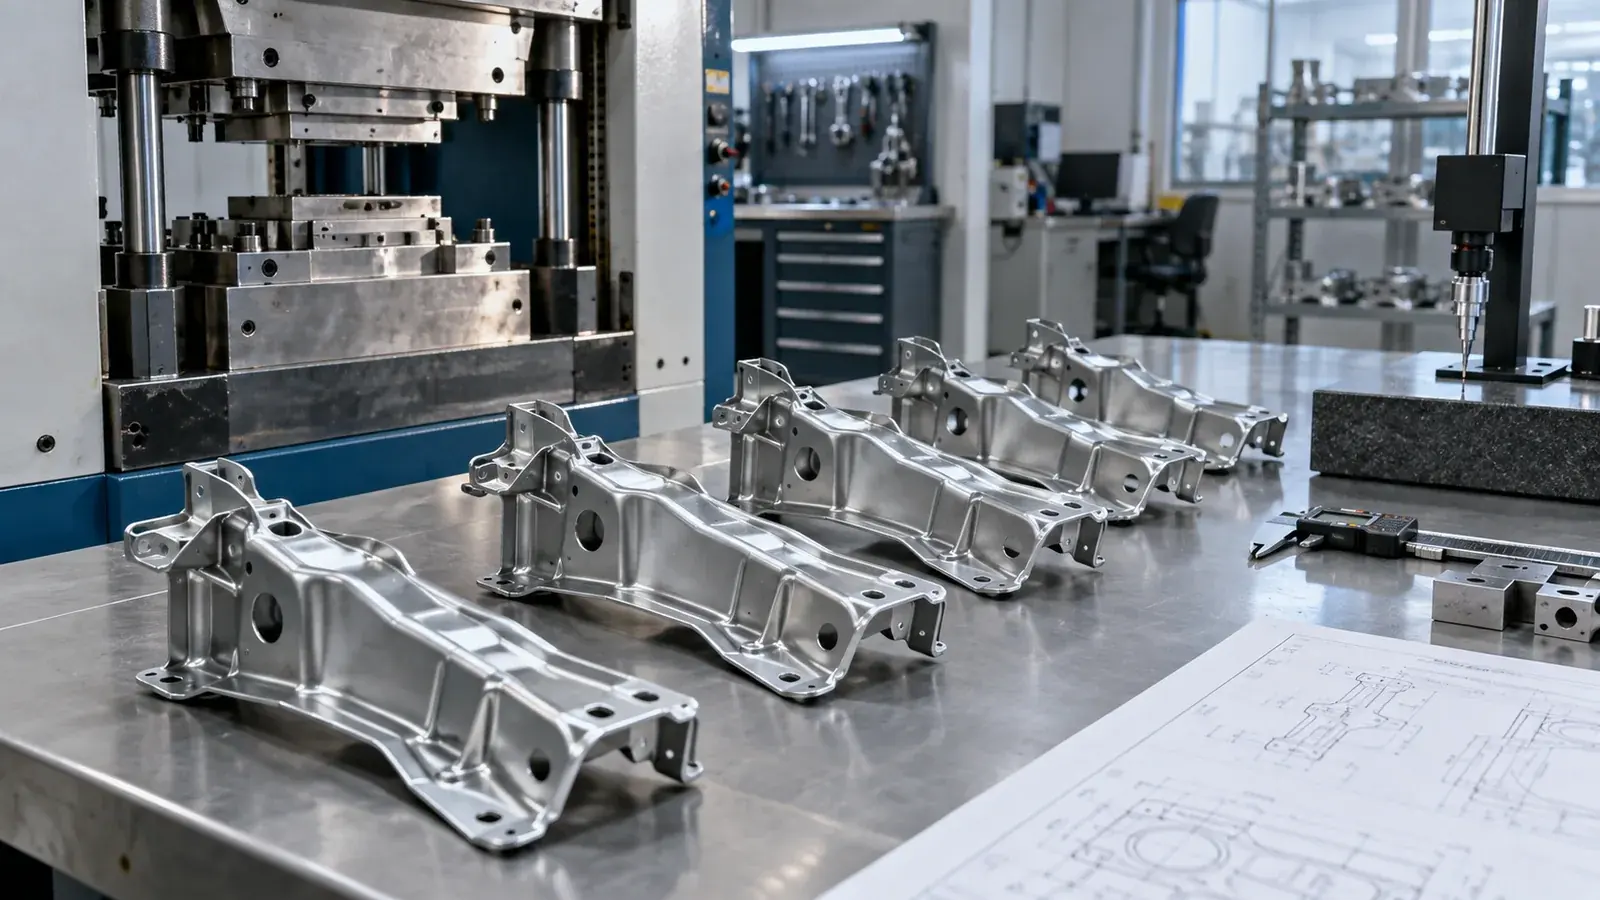
Real parts.
In weeks.
Prototype stampings for your validation builds. Short runs to keep your program moving. No production tooling required.
The problem
When the program can’t wait for production tooling.
A design that needs proof
CAD can’t show how the part fits, joins or performs.
Revisions on a deadline
Each design level needs new parts, fast.
Too few parts for hard tooling
A progressive die makes no sense for 20 parts.
How we work
From CAD to parts in your hands.
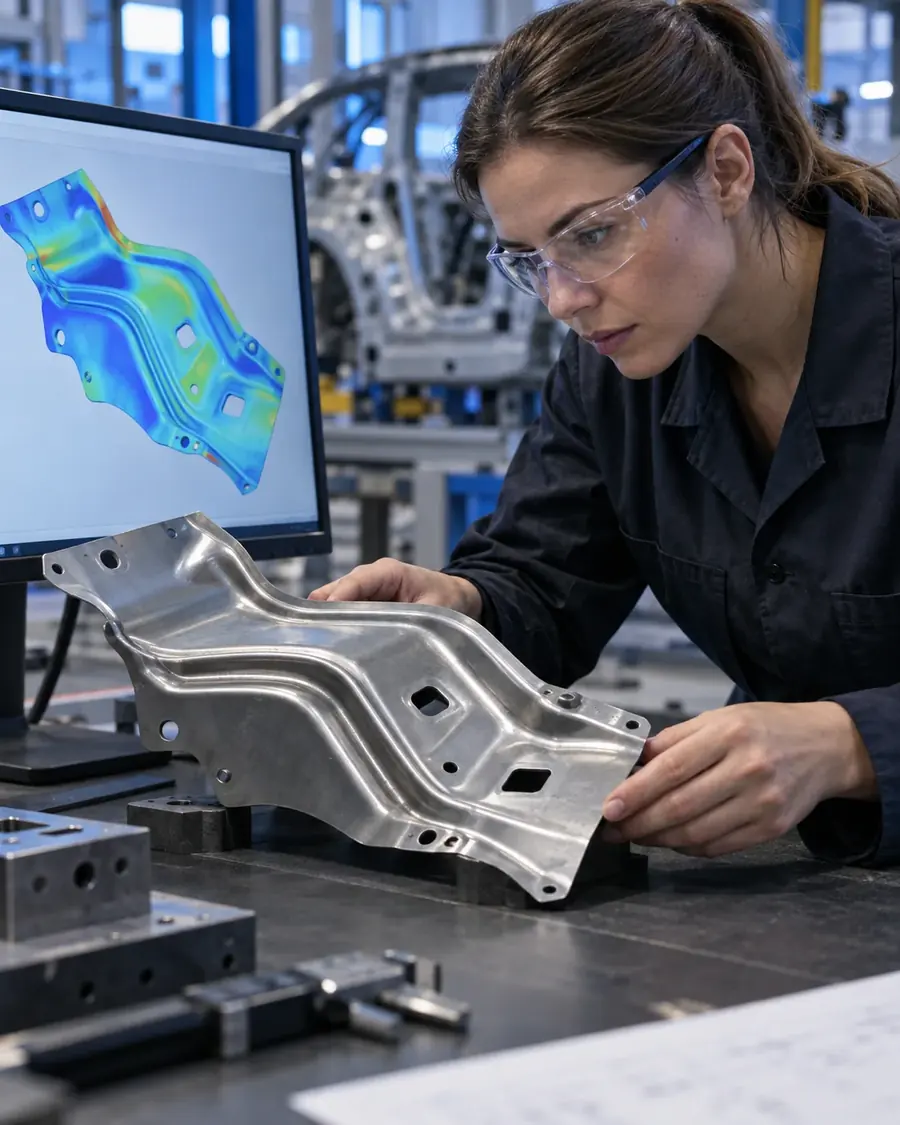
Define
Align part function, design level and the quantity for the next milestone.
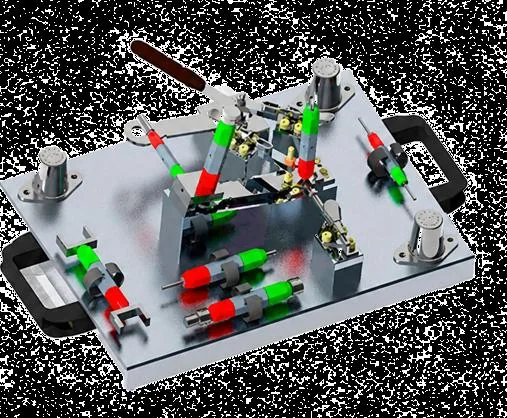
Plan
Choose the manufacturing route, prototype tooling and fixtures.
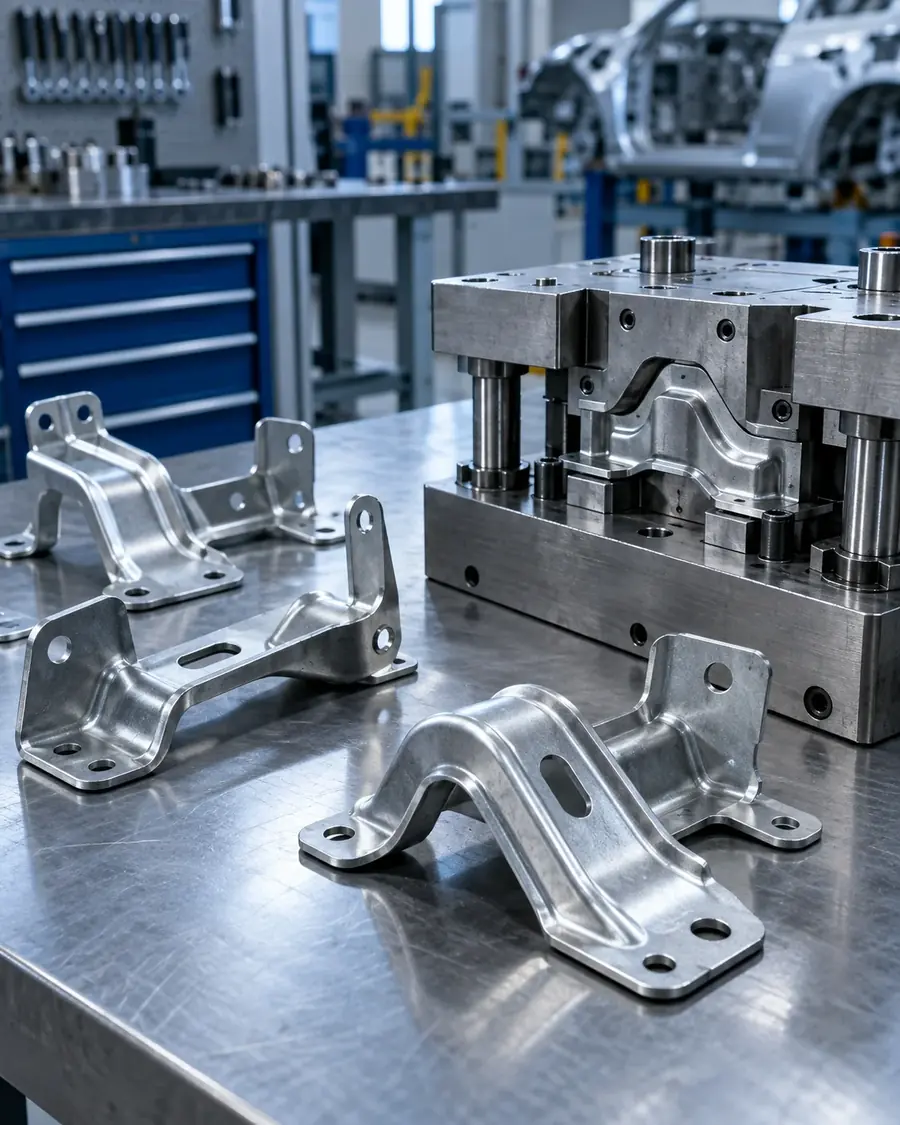
Prototype
Form, trim and join the sample parts.
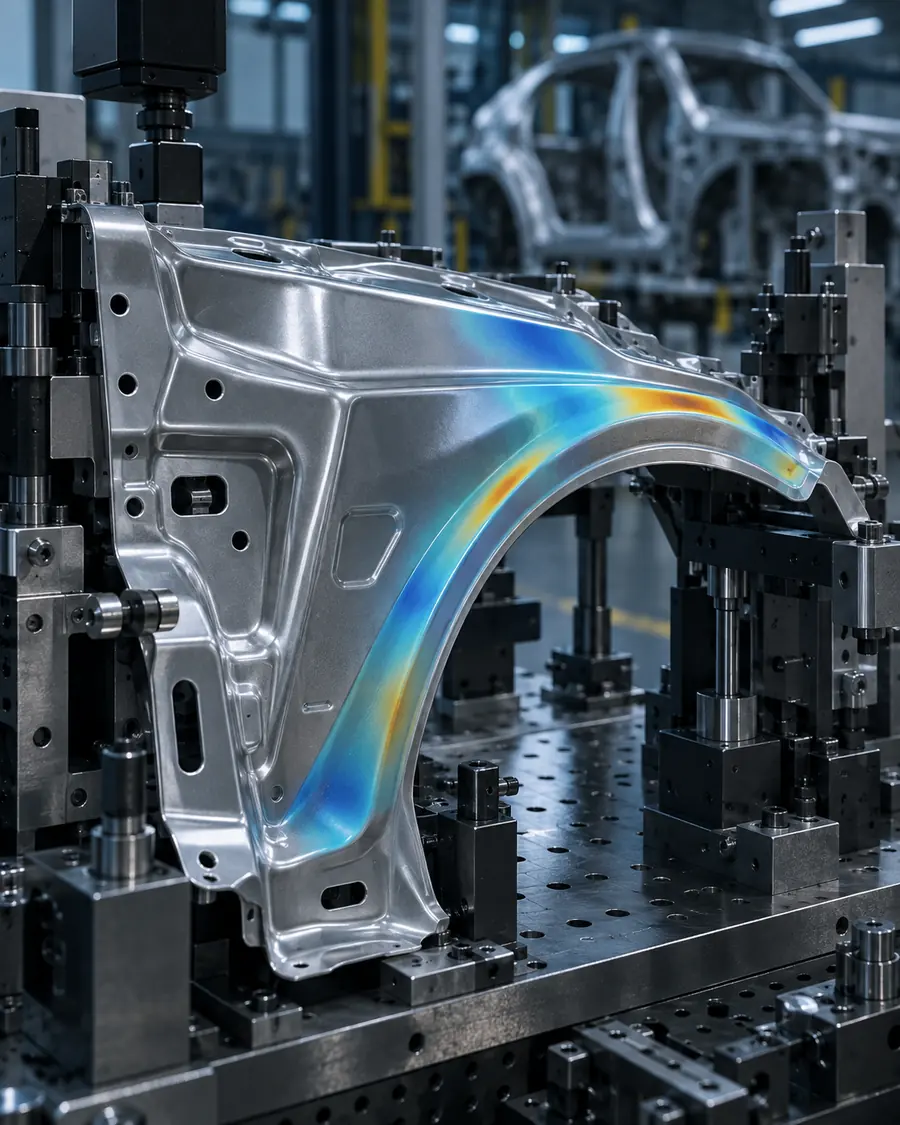
Inspect
Measure against the agreed points and criteria.
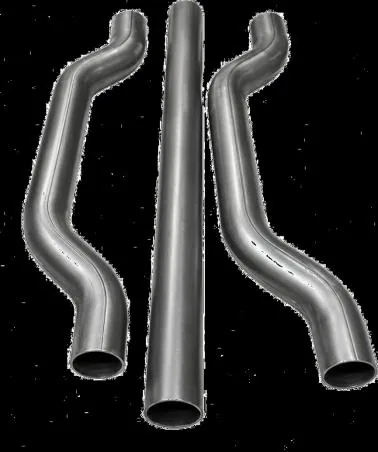
Produce
Deliver pilot and low-volume lots on the program schedule.
What you get
Parts in hand, with the data.
Included services
Prototype parts
Samples at the agreed design level, identified by revision.
Inspection data
Measurements at the agreed points, with open items listed.
Low-volume lots
Pilot and short-run quantities delivered on schedule.
Send the CAD. The quantity. The date.
Design level, material and thickness, quantity per lot, and the milestone you need to hit.
Start a project