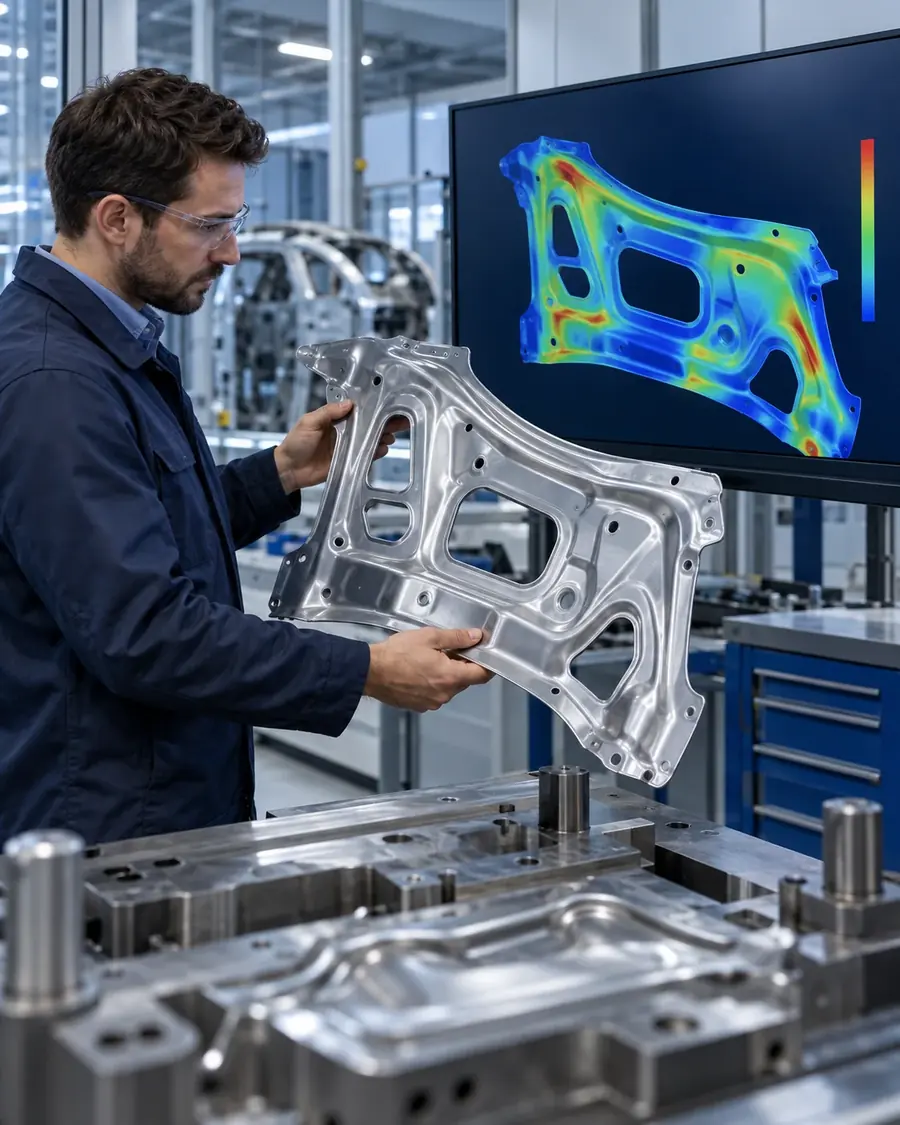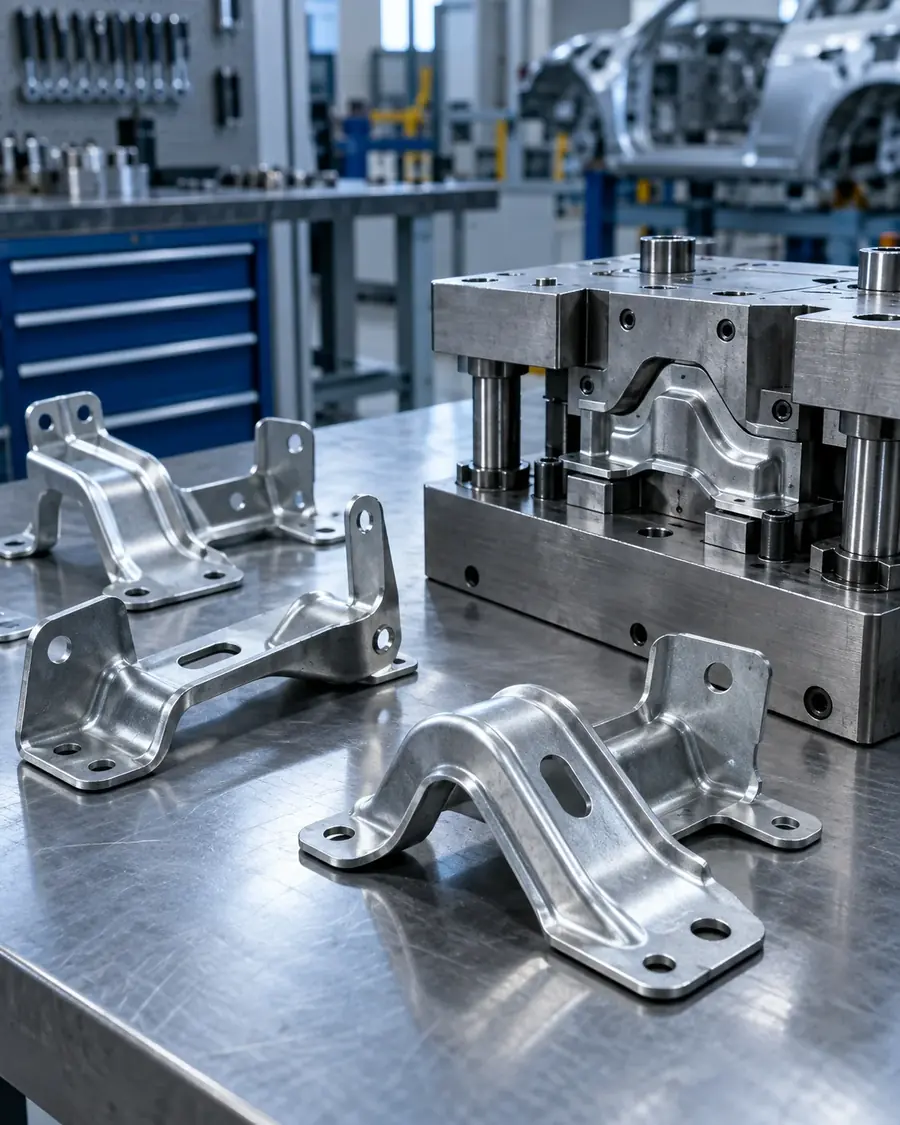
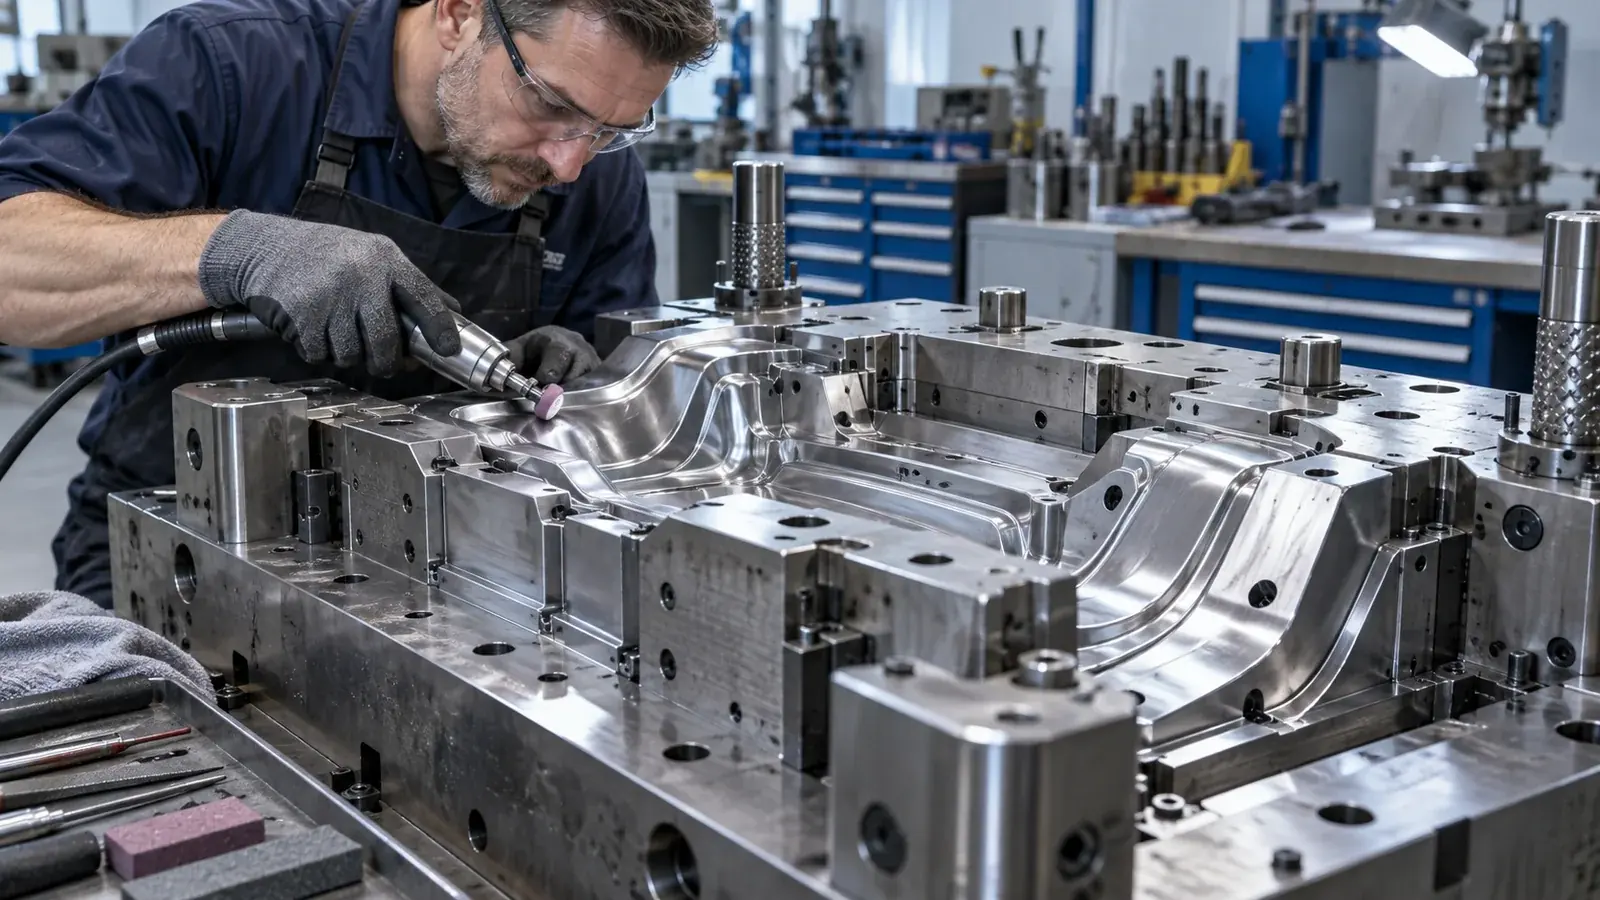
Find the cause.
Prove the fix.
Stamping die troubleshooting and tryout: from a recurring forming defect to a stable, production-ready process. We connect what happens in the part to the die, the material and the press.
The problem
When the die keeps fighting back.
Splits and thinning
Material flow fails at the same radius, run after run.
Springback out of spec
Parts miss the checking fixture and rework eats the margin.
Fixes that don’t stick
Each die adjustment moves the problem somewhere else.
On the press floor, it sounds like this.
“We can’t form this part.”
“Even a high-elongation material still splits.”
“Springback is out of tolerance.”
“Wrinkles persist despite die adjustments.”
“Die inserts are wearing too quickly.”
“We need a permanent fix, not another workaround.”
“Launch is close and the part still splits.”
“We’re sorting parts every shift.”
How we work
Five steps from defect to stable process.
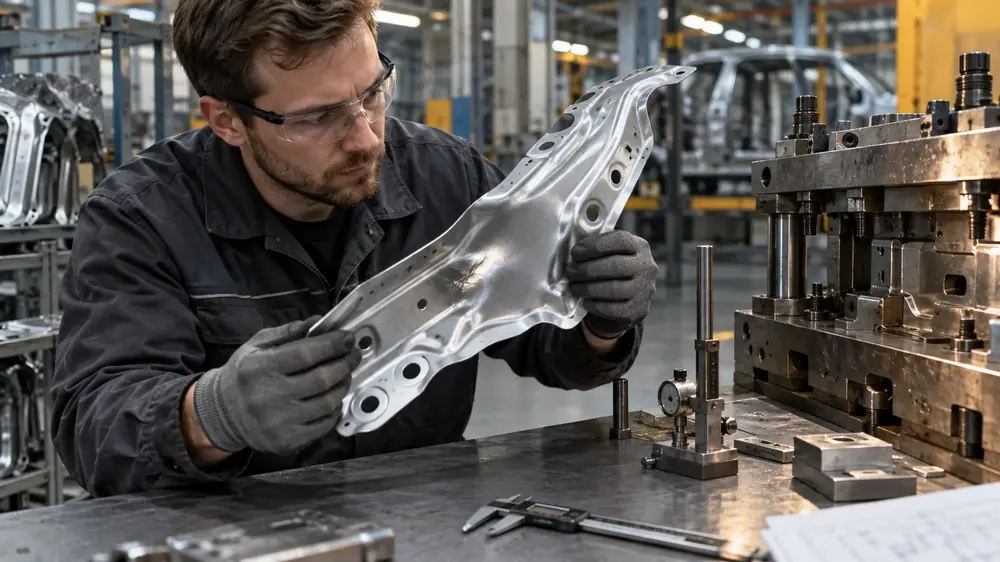
Identify
Measure the defect, the material properties and the press conditions.
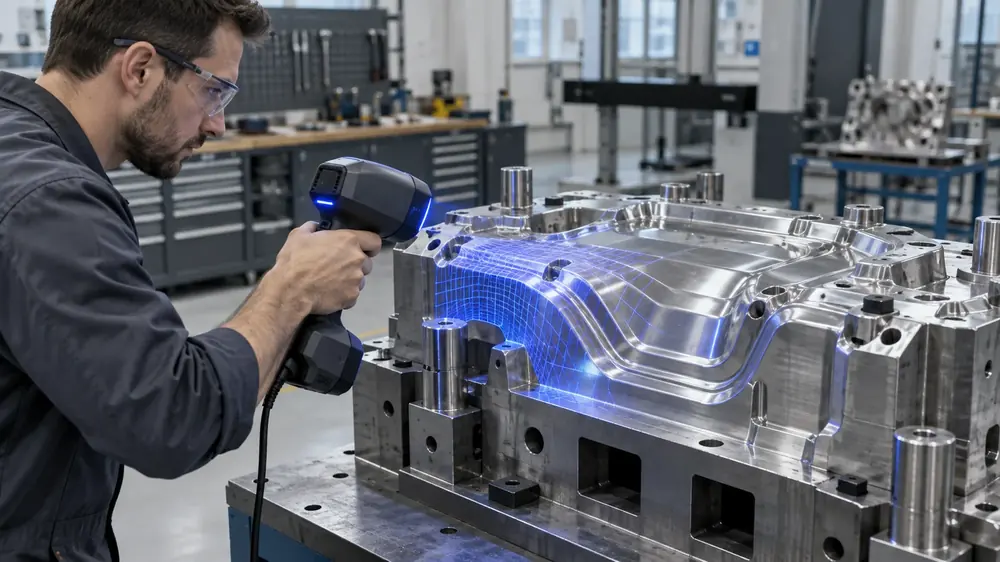
Reverse engineer
Compare real part and die geometry with 3D scanning.
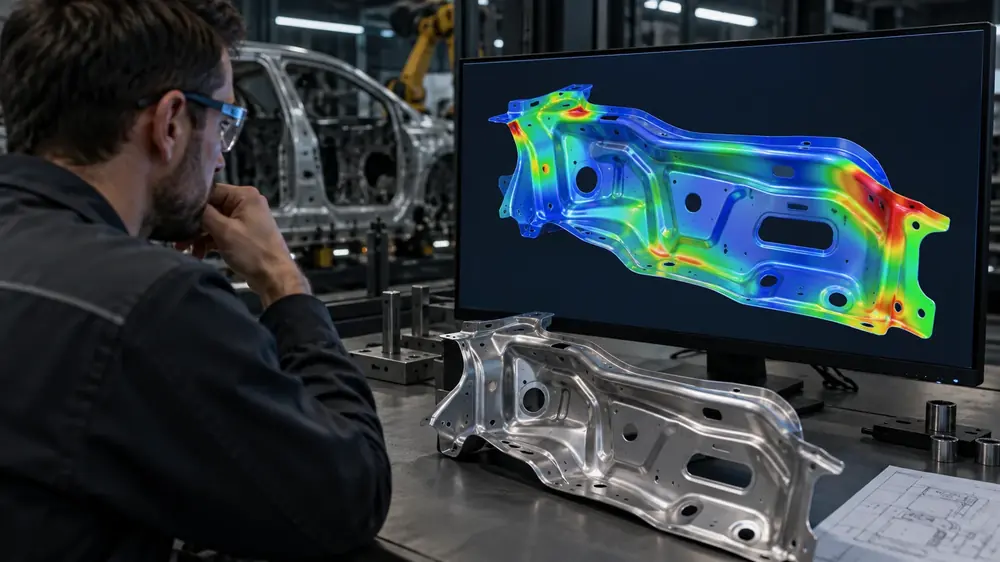
Simulate
Connect material flow to the failure and test corrections virtually.
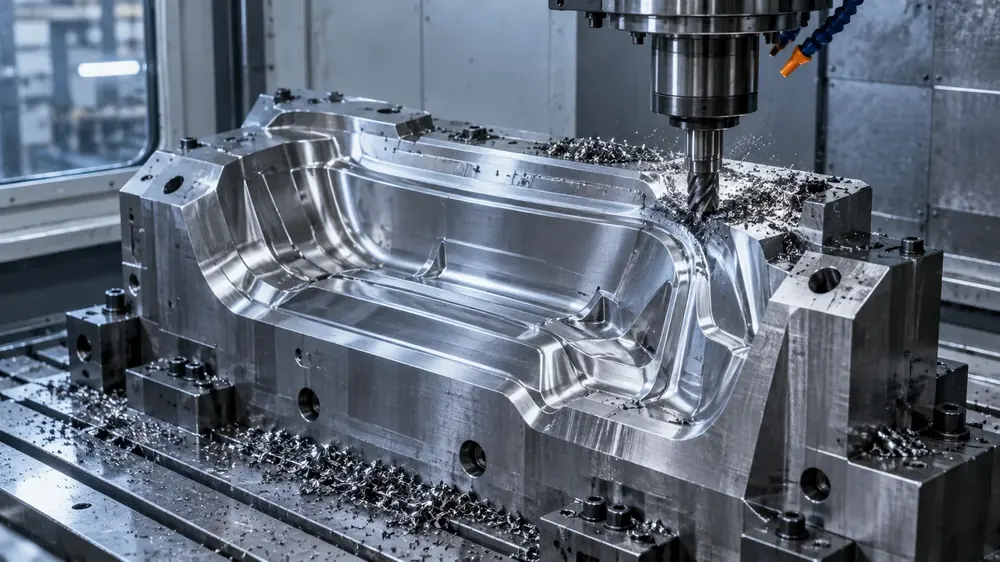
Optimize die
Make a controlled, documented tooling correction.
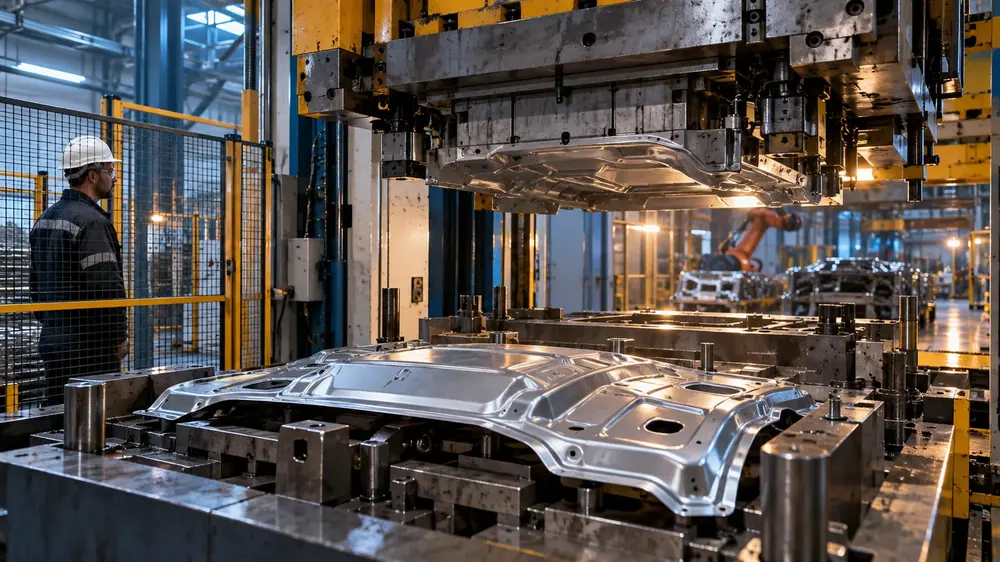
Tryout
Check geometry and repeatability at the press against agreed criteria.
What you get
A fix you can audit.
Included services
Root cause report
Findings, critical variables and the evidence behind them.
Die modification
Approved changes to surfaces, geometry or process parameters, documented.
Tryout results
Part measurements against the acceptance criteria agreed before we start.
Send photos of the part. And the tool.
Photos of the defect, the CAD or drawing, material and press data. If something is missing, we define what to capture first.
Start a project